Setting up a Haskell environment in NeoVim
I’ve been spending a lot of time recently getting my Haskell development setup as nice as possible. I found out a couple gotchas, so thought I’d write them down here. I have this same setup working on Ubuntu 18.04 and MacOS Catalina. However I’m writing this guide with linux in mind, it should be a small change to get it to work on your distro (or with Mac).

nvim
- For both
brewandapt, you’re going to be downloading a version of neovim that isn’t compatible with the most useful of the LSP features we want. So you’re going to install it from a pre-built package. On linux, it’s the appimage. - Make sure you put this somewhere on your path. For me I have it in
~/bin/nvim(I cut the.appimagefrom the binary, since I havevimaliased tonvim). - For some cool colorschemes and such, you can check out my dotfiles.
nodejs
- You’re going to need a newer version of node than
aptwill give you. The easiest way to do this is vianvm. It’s very simple to install the latest version of node via their installation instructions.
coc.nvim
- If you aren’t using it already, I recommend migrating to
vimplug. Either way, you’re going to need the coc.nvim plugin. Since you already set up node from the previous section, you just need to follow their config instructions and you’re good to go. Instructions here.
stack
- You’re going to want either stack or cabal. I use stack, and here is how you install it.
hie
- This is the part that was trickiest for me. All of the instructions are on
the
README,
but they are pretty hard to follow with how many systems they try to account
for.
-
First thing, you’re going to need to clone the hie repo somewhere, and install the version for the project(s) you want to use it on. If you don’t know which version of GHC you’re on, and you have a stack project - just check out the
stack.yamlfile and google that resolver. I’m on resolver 14.18, which is ghc version 8.6.5$ stack ./install.hs hie-8.6.5 -
This takes a while, so just let it run.
-
- Once this is done, you’re going to need some configuration.
coc.nvimhas a haskell config. However, you need to understand this important point with this config. What this assumes is that you have a binaryghcavailable on your path that matches the project ghc. This is almost certainly not (and shouldn’t be) the case if you’re using stack. You need to tell coc.nvim that you’re using stack, and that you want stack to manage theghcexecutable.- To do this, make sure you have stack’s package directory on your path. So
add it (the default is
~/.local/bin) to your.zshrcor.bash_profile. - Now you need to configure
coc.nvimto use thisghcwith the following:
"languageserver": { "haskell": { "command": "stack", "args": ["exec", "hie-wrapper"] } } - To do this, make sure you have stack’s package directory on your path. So
add it (the default is
Final Setup
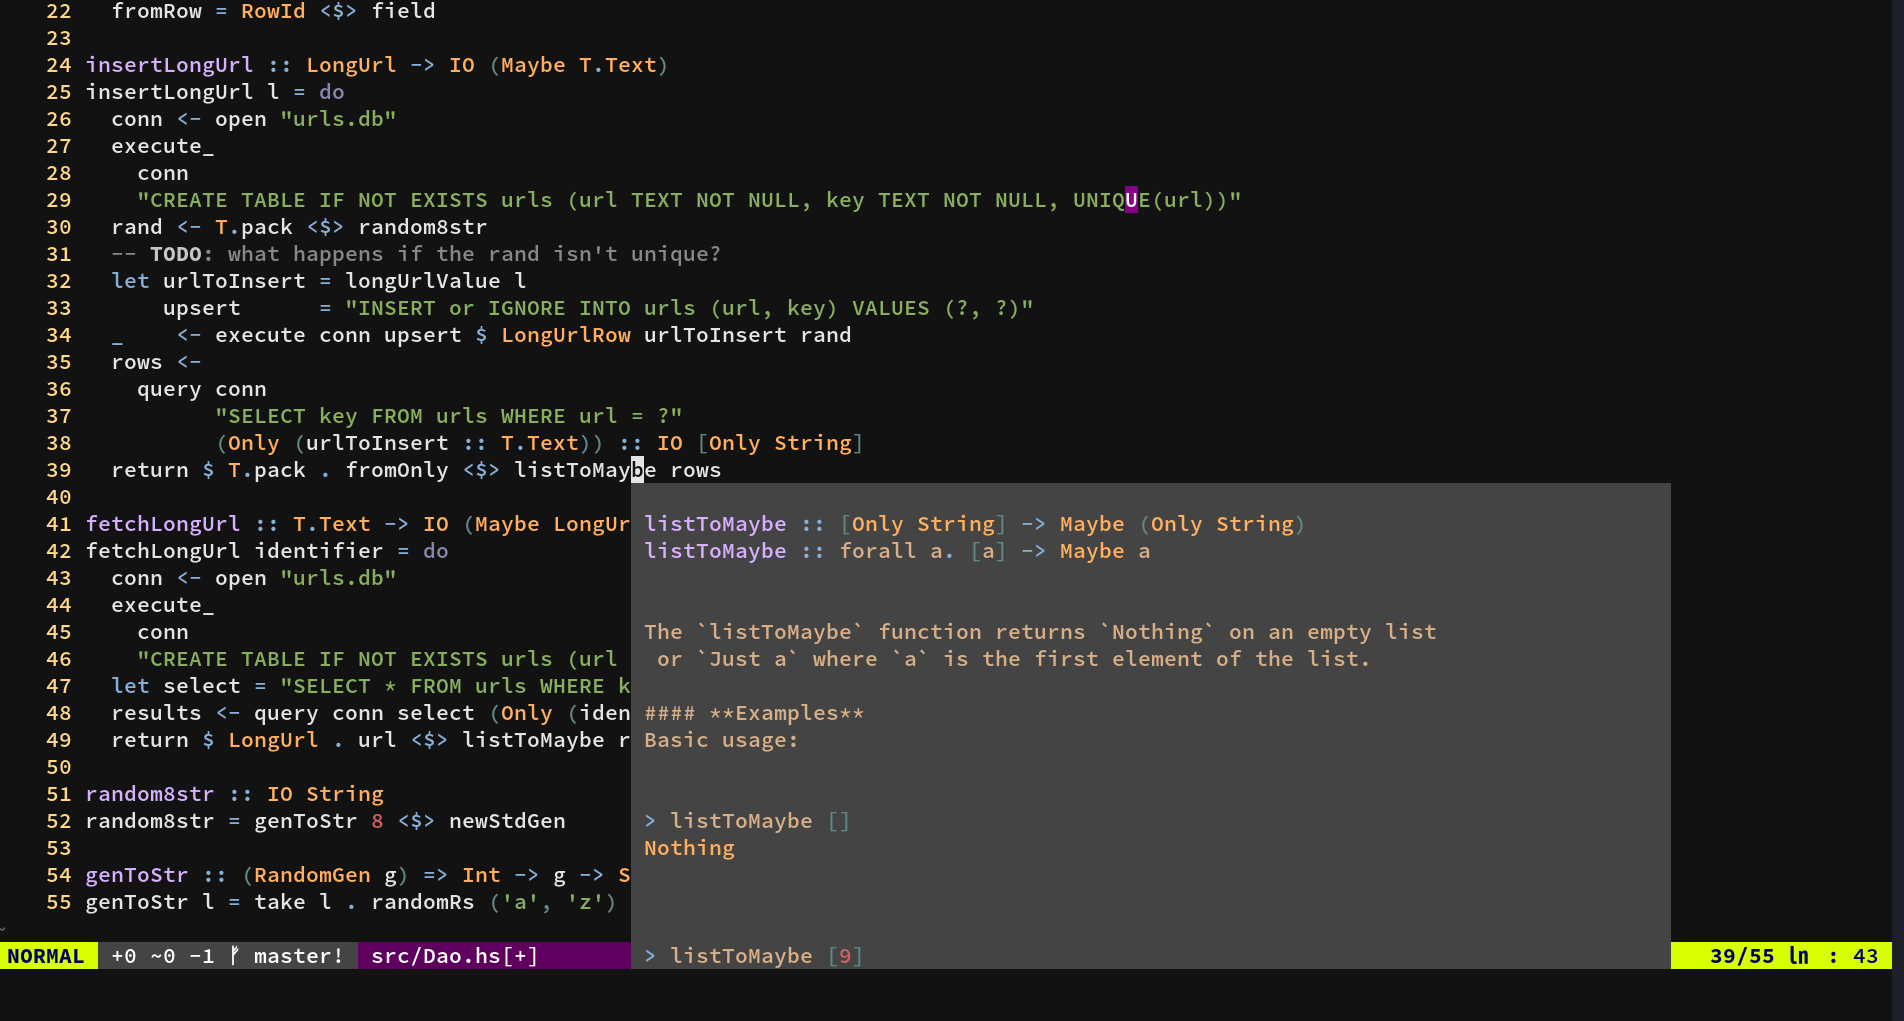
There you have it, a nice nvim experience with haskell. Some tips:
-
Make sure you
stack buildin your project before you open it in nvim. -
Some useful keybinds that come by default:
shift + kinspects type/documentationg dgoes to a def
-
I have some cool color fixes for the
coc.nvimpopup:
" Coc popup colors are bad, this makes them not bad
highlight CocFloating cterm=NONE guibg=DarkSlateGrey guifg=burlywood
highlight CocErrorFloat cterm=NONE guibg=DarkSlateGrey guifg=burlywood
highlight CocWarningFloat cterm=NONE guibg=DarkSlateGrey guifg=burlywood
highlight CocInfoFloat cterm=NONE guibg=DarkSlateGrey guifg=burlywood
Feel free to check out my dotfiles for some more configs.